Many car drivers can change their headlights at home with only a few tools and a little work. Headlights that are dull or burned out can be dangerous and make it hard to see while driving. Most of the time, changing them is easy, and you can save time and money by learning how to do it yourself. This guide will show you how to replace your car’s headlights step by step, making it easy for you to do this important repair.
Getting Materials and Tools Together
Before you start replacing something, you should make sure you have all the tools and materials you need. Depending on your car, you will likely need a pair of replacement bulbs (make sure they work with yours), a flathead or Phillips screwdriver, gloves to keep your oily skin from touching the bulbs, and maybe a wrench or pliers if your car has extra locking mechanisms. You might also need a clean cloth to wipe down the headlight system to get rid of any dust.
Safety
Safety should be your first goal before you start working on your car. First, turn off your car and take the keys out of the ignition. If you just turned on your headlights, let them cool down for a few minutes to keep yourself from getting burned. You should also park your car on a flat area and put the parking brake on so it doesn’t move while you work.
How to Choose the Right New Bulb
Different types and sizes of headlight bulbs are available, so it’s important to get the right repair. You can find the right type of bulb in the owner’s manual for your car, online, or at an auto parts shop. Some shops even have a bulb finder tool that lets you put in the make, model, and year of your car to find the right bulb.
Getting to the Headlight Assembly
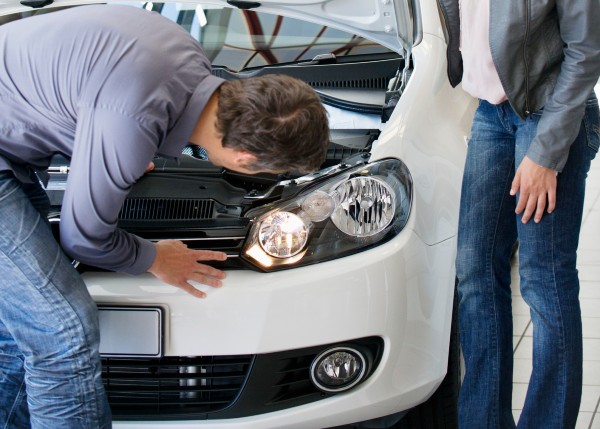
Once you have the new lights ready, you can take a look at the headlight assembly. Take off your car’s hood and look for the back of the headlight unit. A lot of cars have a cover that you might need to take off. To take this cover off, you’ll need the right tool. It’s held in place by clips, screws, or bolts. In some situations, you might need to take off extra parts, like the battery or air filter, in order to fully reach the headlight assembly.
Taking out the old headlight bulb
Find the bulb holder with the headlight system out in the open. Most of the time, the bulb holder is a plug that can be spun or pulled out. To take the bulb case off of the assembly, carefully twist or pull it. You can get rid of the old light after taking off the holder. Be careful not to break the bulb if you handle it too roughly.
Putting in the new headlight bulb
Be careful not to touch the glass with your raw fingers before you put in the new bulb. The bulb may burn out too soon if your skin has oils on it. Instead, protect your hands with gloves or a clean cloth when you touch the new bulb. Once you’re done, put the new bulb in the holder and either spin or push it back into place in the headlight assembly.
Putting the Headlight Assembly back together
After putting the new bulb in place firmly, put back on any covers or parts you took off to get to the headlight. Make sure that everything is tightly connected so that dirt or wetness doesn’t get into the assembly and hurt the bulb or electrical connections.
Trying Out the New Headlight
It’s important to test the new headlight before closing the hood and ending the job. Start up your car and check the headlights to make sure they are working right. Once the new bulb starts to shine, you’ve successfully replaced it! If it doesn’t, check the connections again and make sure the bulb is in place firmly.
Conclusion
Changing your car’s headlights at home is an easy and fun project that can make you safer on the road. You can easily change your headlights without hiring a professional if you have the right tools, are patient, and pay close attention to the details. To make sure you can see clearly while driving, you should check your headlights often to make sure they are working. If you follow the steps in this guide, you’ll be able to change your headlights easily in the future and keep your car in great shape.
