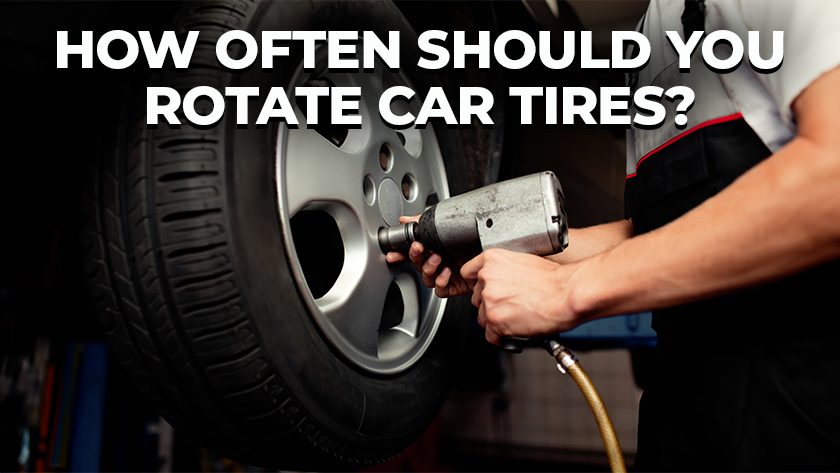
Tire rotation is an essential aspect of maintaining the health and longevity of your vehicle’s tires. Regularly rotating your tires ensures even wear across all four tires, which leads to improved performance, increased fuel efficiency, and a longer tire lifespan. Performing a tire rotation at home may seem challenging, but with the right tools and guidance, you can rotate your tires like a pro. This guide will take you through the step-by-step process of tire rotation, helping you save time and money while ensuring your vehicle remains in top shape.
Why Tire Rotation is Important
Tires do not wear evenly on a car due to differences in weight distribution, driving habits, and road conditions. For instance, the front tires of most vehicles bear more weight because of the engine, and they also handle more braking and steering forces, leading to faster wear compared to the rear tires. By rotating the tires regularly (every 5,000 to 7,500 miles, or as recommended by your car’s manual), you can promote even tread wear, improve traction, and extend the life of your tires. Proper tire rotation can also enhance your vehicle’s handling and reduce the risk of blowouts or uneven tread that can cause steering issues.
What You’ll Need
Before getting started, gather the necessary tools and materials:
- A car jack and jack stands (or a hydraulic lift if available)
- A lug wrench to remove the wheels
- A torque wrench (optional but recommended)
- Chalk or tape to mark the tires
- A tire pressure gauge
- Your vehicle’s owner’s manual for tire rotation pattern and specifications
Once you have everything ready, you’re prepared to rotate your tires.
Determine Your Tire Rotation Pattern
The tire rotation pattern you use depends on your vehicle’s drivetrain (front-wheel drive, rear-wheel drive, or all-wheel drive) and whether your tires are directional or non-directional. Non-directional tires, which can be mounted on any wheel, are more common and allow for more flexibility in rotation patterns. Directional tires, on the other hand, have a specific tread pattern designed to rotate in one direction, and these can only be rotated front to back on the same side of the vehicle.
For front-wheel-drive vehicles, the most common pattern is:
- Front tires move straight back.
- Rear tires move diagonally to the opposite front side (rear right to front left, rear left to front right).
For rear-wheel-drive and all-wheel-drive vehicles:
- Rear tires move straight to the front.
- Front tires move diagonally to the opposite rear side (front right to rear left, front left to rear right).
Consult your vehicle’s manual for the exact rotation pattern recommended for your car and tire type.
Prepare Your Car
Before lifting your car, ensure it’s parked on a flat, level surface. Engage the parking brake and place wheel chocks behind the tires that won’t be lifted first, to prevent the car from rolling. Loosen the lug nuts on all four wheels using your lug wrench, but don’t remove them entirely yet. Loosening the lug nuts while the tires are still on the ground will make it easier to remove the wheels once the car is lifted.
Lift the Car
Use your car jack to lift the vehicle off the ground. If you’re using a hydraulic lift, follow the instructions to raise the car safely. For most vehicles, you’ll need to lift one side or corner at a time, so place the jack at the manufacturer’s recommended lift points (usually indicated in the owner’s manual or under the door frame). After lifting the car, secure it with jack stands for safety. Never rely solely on the jack to support the weight of the vehicle while you work.
Remove the Wheels
Once the car is securely lifted and supported by jack stands, finish removing the lug nuts from each wheel. Carefully remove the wheels and place them aside. You can mark each tire with chalk or tape to indicate its original position (e.g., “FR” for front right, “RL” for rear left) to keep track of the rotation pattern.
Inspect the Tires
Before reinstalling the tires in their new positions, take the opportunity to inspect them for wear, damage, or uneven tread patterns. Look for signs of uneven wear, which could indicate alignment issues or suspension problems. If you notice significant wear on one part of the tire or any bald spots, it may be time to replace the tire or address underlying issues.
Check the tread depth using a tread depth gauge or the “penny test.” Insert a penny into the tread groove with Lincoln’s head facing down. If you can see the top of Lincoln’s head, the tread is too worn, and the tires should be replaced. Also, check for any bulges, cracks, or punctures that could lead to tire failure.
Rotate the Tires
Follow the recommended rotation pattern for your vehicle and drivetrain. For example, if you’re rotating tires on a front-wheel-drive car, move the front tires straight to the back and cross the rear tires to the opposite front sides. Install the wheels in their new positions and hand-tighten the lug nuts to hold the tires in place. Don’t fully tighten the lug nuts just yet, as you’ll want to torque them down after lowering the car.
Lower the Car and Tighten the Lug Nuts
Once the wheels are back in place, carefully lower the car to the ground by removing the jack stands and slowly lowering the jack. With the vehicle back on the ground, use a lug wrench or torque wrench to fully tighten the lug nuts in a crisscross or star pattern. This ensures even pressure and prevents the wheel from being misaligned. If using a torque wrench, refer to your owner’s manual for the proper torque specification and tighten the lug nuts accordingly.
Check Tire Pressure
After rotating the tires, it’s important to check the tire pressure. Tires that were on the front may have different wear patterns or pressure requirements compared to those that were on the rear. Use a tire pressure gauge to check each tire and adjust the pressure to the recommended level specified in your vehicle’s manual or the placard inside the driver’s side door. Proper tire pressure is critical for optimal handling, fuel efficiency, and even tire wear.
Test Drive and Final Inspection
Once the tires are rotated and properly inflated, take your car for a short test drive. Pay attention to how the vehicle handles and whether there are any unusual vibrations or noises. After the test drive, double-check the lug nuts to ensure they’re still tight. This is especially important after driving, as the lug nuts may settle into place.
Conclusion
Rotating your tires regularly is a key part of car maintenance that you can easily do yourself. By following these steps, you can rotate your tires like a pro, ensuring even tire wear, improved vehicle handling, and a longer tire lifespan. Not only does regular tire rotation save you money in the long run by extending the life of your tires, but it also contributes to better fuel efficiency and safer driving. Make tire rotation a regular part of your vehicle maintenance routine, and you’ll enjoy a smoother ride and longer-lasting tires.


